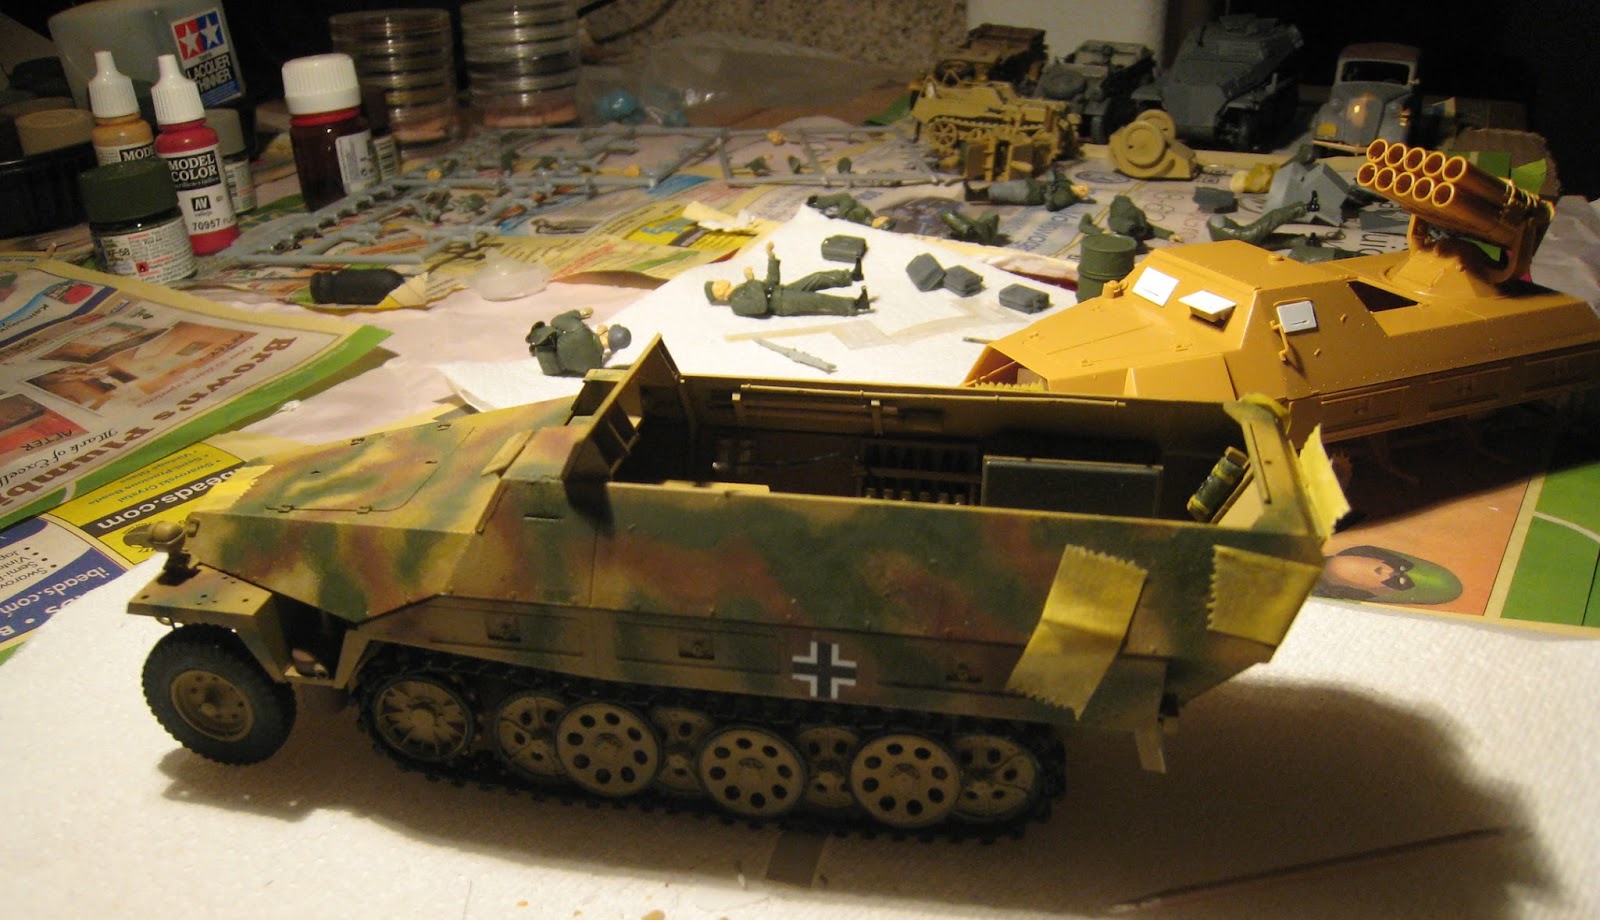
Sd.Kfz. 251/9 Ausf. D
Frühe - Kanonenwagen aka Stummel
Had a partially assembled Tamiya Sd.Kfz. 251/9 ausf. D frühe from the 1990s
lying around. The remaining parts had
long gone missing, and the kit seemed relegated to the never-to-be-finished
pile.
Also, had an un-built Dragon Sd.Kfz. 251 ausf. D 3-1. Was tempted to build it as the Sd.Kfz. 251/9 ausf. D späthe
version. However, also have the AFV
Club Sd.Kfz. 251/9 ausf. D, which, from reviews, appears to be a more accurate
version. The plain Sd.Kfz. 251/1
version didn’t seem to be interesting and nor did the IR version, which
apparently has some accuracy issues.
For something different, decided to try to kit-bash a Sd.Kfz.
251/9 ausf. D frühe
based on the Dragon kit, but with parts as needed from the Tamiya kit, such as
the floor gun mount and front gun shield.
Some initial research shows that the Tamiya kit lacks the gun shield
supports, to that has to be added.
Additionally, the 75 mm main gun had cuts in the deflector shield not
shown on the Tamiya or Dragon gun, so that change has to be made. The driver’s seat was cut down low as well,
so that is another necessary change.
Thought about changing the gun barrel to make use of the nice metal
barrel provided by Dragon, but with the gun already assembled and the difference
between the early and late mantles, may have to just go with the Tamiya gun
barrel.
First step was to install the front gun shield into the Dragon
hull.
At first glance, this seemed to
be easy, but upon further examination, the fact that the Dragon upper hull
apparently is 2-3 mm too narrow, the Tamiya gun shield is too wide.
(There is a visually notice difference in
shapes between the Dragon and Tamiya upper hulls.)
Also, the angle of the front plate is slightly different between
the two models.
Long and short, ended
up having to trim the width of the gun shield and replace the front plate.
For the driver’s side, the Dragon front
plate was cannibalized, but the cut out for the visor meant that on the other side
the front plate had to be assembled from plastic card.
The welds from the Dragon visor were cut off
and attached to the top and side.
It
ended up being a lot more work than expected.
The picture below shows the result – gray is Dragon, tan is Tamiya and
white is plastic card.
The upper hull
is sitting on the old Tamiya chassis for now.
Below - the heavily shortened driver figure next to the original, as well as the torso of the driver figures from the Dragon Sd.Kfz. 251 3 in 1 kit and the Cyber Hobby Sd.Kfz. 253 kit.
Balkenkruz and loading stencil are from Archer Fine Transfers. Rear license plates are from the Tamiya SdKfz 251/9 kit - will use "534" and 2. Panzerdivision marking from Tamiya as well. Need to add antenna and weather.