Monday, October 21, 2019

M3A1 Halftrack with wurfrahmen 40

This is the Dragon IDF M3 Halftrack with Nord missile system rebuilt into a beute M3A1 halftrack with wurfrahmen 40 serving with 11. Panzerdivision based on references from the division's surrender in 1945.  According to references, the M3A1 joined the divisions TOE sometime in 12/1944.  Replacing the kit's Nord four missile system with four 28 cm Wurfkörper Spreng wurfrahmen 40 taken from the Dragon Sd.Kfz. 251 Ausf D. kit in sort of a retro version of the IDF vehicle.  (Note that the IDF kit contains all of the parts for the back ordered/hard to find original WW2 vintage M3A1 halftrack kit (other than decals), including the .50 cal and "pulpit".)

The initial paint coats are Mission Model's paint US Army Olive Drab.  Will have some German camouflage overspray (esp. over where the US markings would have been), although the reference pictures leave room for interpretation.  Most likely will use green/brown (either olivgrun and rotbraun, or the nicer looking (IMO) Nato green/brown), with some dunkelgelb "stick" overspray (seemingly mainly over the doors).  Some sort of roof also was installed over the driver's area, so may cannibalize the full-length roof provided for the IDF Nord M3.  Lots more to do, but thus far kit has gone together well, although the tracks are a little tricky to install (will leave off outer half of return roller before installing track if build another version).


Did a color sample (albeit brushed) of olivgrun versus Nato Green, and rotbraun vs. Nato Brown.  Also, found some 35+ year old USAF decals - maybe for a 1/32 P-51? - and crudely cut out the star portions and some over sized numbers.  These will be overpainted, so crudeness should be okay - I hope.


SU-100 WIP (Update)

Getting a little bit closer to the finish line on the Dragon SU-100 ("Arab" version built as circa 1945 SU-100 in Vienna (Wien)).  Have put down two initial coats of Mission Model Paints #031 – Russian Dark Green 4BO FS 34079.  Will need touch up wheels, base coat.  Also, a few parts, such as the exhausts, driver's hatch details, etc. need to be added.  May leave fuel tanks and tow cables or tracks off, as the reference vehicles seem to lack many of the same.  Fenders have been removed.  Hatches are tentatively in open position.  Still deciding as to whether to replace first road wheel on drive side with half-spider per Wien museum example (not clear when change occurred on original as typically SU-100 in 1945 saw only limited service and typically had a full set of solid disc wheels).


Thursday, September 12, 2019

Panzergrau

Initial base coat of Mission Model Panzergrau on ICM [Mercedes] L3000S and Tamiya Sd.Kfz. 232.

Some clean up need, but plan to high-light with Mission Models Light Ghost Grey on one and (maybe) Mission Models British Slate Grey on the other.


Wednesday, September 04, 2019

WIP T-34/76 UZTM, T-34/76 Factory 112, KV-1 and SU-100 Lots of Red Army AFVs

The Trumpeter KV-1 Model 1942 Heavy Cast Turret is a very nice kit, at a good price.  It was easy and quick to assemble with optional length and link tracks.  P/E grills for the exhaust (included in TR's Model 1939 kit) might have been nice, but not 100% necessary.  Note that it actually represents a model 1941 with early cast turret.  Started to paint using Mission Model's Russian Dark Olive 2 FS 34096, and MM's tire black (kind of a grey) for the tracks.


The DML "formachka" aka UZTM turret is described in a previous entry and it also is starting to be painted with Russian Dark Olive 2 FS 34096, and MM's tire black (kind of a grey) for the tracks and rubber wheels.

On the extreme right and below is the DML T-34/74 with Commander's Cupola Factory 112.  This is a nice kit but need to really think about the end result and consult references before proceeding.  OOB, the instructions would have you build an early hull (c. 1942) but with with a late (c. 1943) turret.  After looking through references, the intent is to build a late 1943 Factory 112 version.  All of the parts needed are in the box, but lack of advanced planning created problems.  For the hull, should use the straight edged glacis plate, not the interlocking one (realized too late), as well as moving the headlight to the fender (if you use the straight edged plate, there will be no headlight mounting hole to plug), using the "hammerhead" towing mounts (non-integrated version) and armored bow MG.  The side hull grab handles can be used per instructions, as can the radio mount, but the two front grab handles should be straight, not angled.  Also, there should be a deflection strip below the driver's hatch.  On the turret, the casting number probably should be higher.  For late 1943 models, the 90 angled turret grab handles appear to be more common that the P/E version called out by the instructions (see UZTM handles).  The cylindrical external fuel tanks also would be appropriate.  For a very late/final (1944) version, on the turret, the lifting rings can be replaced with lifting hooks (e.g, from a T-34/85 sprue) and the hull grab handles appear to be modified to be shorter with the last two on each side displaced higher to accommodate the fuel tanks.


This the DML Arab/Egyptian, in construction as a very early version SU-100 (c. 1945 Austria).  Changes include deletion of the storage box on the starboard fender (apparently a post-war, largely Czech (?)) addition, using the old-style commander's split hatch, and using the split loader's hatch (a very early feature).  There is no gun breech or any other interior detail. so not sure about which hatches to leave open, but would like to at least have commander and loader's occupied to break up the solidity of the hull.  A front half-spider wheel replacement also might add some visual interest - present on the Vienna exemplar, but no contemporary pictures of the same and has been commented that because the SU-100 was such a late introduction, most did not suffer wheel damage which would have necessitated replacing one or more of the "factory" wheels.  In addition, on the early SU-100, the rear and side plates of the fighting compartments did not have the nice overlapping plates contained in the kit, but a rather rough junction (as per exemplar from Vienna).


Preliminary base coat of Mission Model 4BO.


Thursday, August 08, 2019

Mini Art ZIS-3 aka 7.62 cm Feldkanone 288(r)

WIP of the ZIS-3 aka 7.62 cm Feldkanone 288(r) by Mini Art, in towing mode  Generally went together without trouble, although some parts are delicate and barrel is two-part.  Painted using Mission Models dunkelgelb with a very light olivegrun camo pattern on the gun shield


Dragon Sd.Kfz. 251/? Ausf. D mit 2.8 cm Pz.B. 41

WIP of the recent Dragon Sd. Kfz. 251/1 Ausf. D mit Wurfrahmen 40 (#6861).  Decided to leave off the Wurf. 40 and add the 2.8 cm Pz.B. 41 from the Dragon Sd. Kfz. 251/7 Ausf. D (#6223).  May not have been a "standard" modification, but rather a possible field modification by 12. SS-Pz. Div. in France, 1944.  From reference pictures of the vehicle (lic. SS-193932), unclear (at least to me) as to whether base vehicle is /1 or /7 due to branches, crew etc.

Started painting using Mission Models dunkelgelb as base with olivgrun and a rot braun/NATO brown overspray.


Monday, January 07, 2019

Panther D and T-34/76 Mod. 1943 with UZTM stamped turret


Two antagonists from the Russian Front - mid to late 1943 - Panther Ausf. D (slight conversion) and T-34 Mod. 1943 with UZTM turret and commander’s cupola (anachronistically referred to as “formochka”).


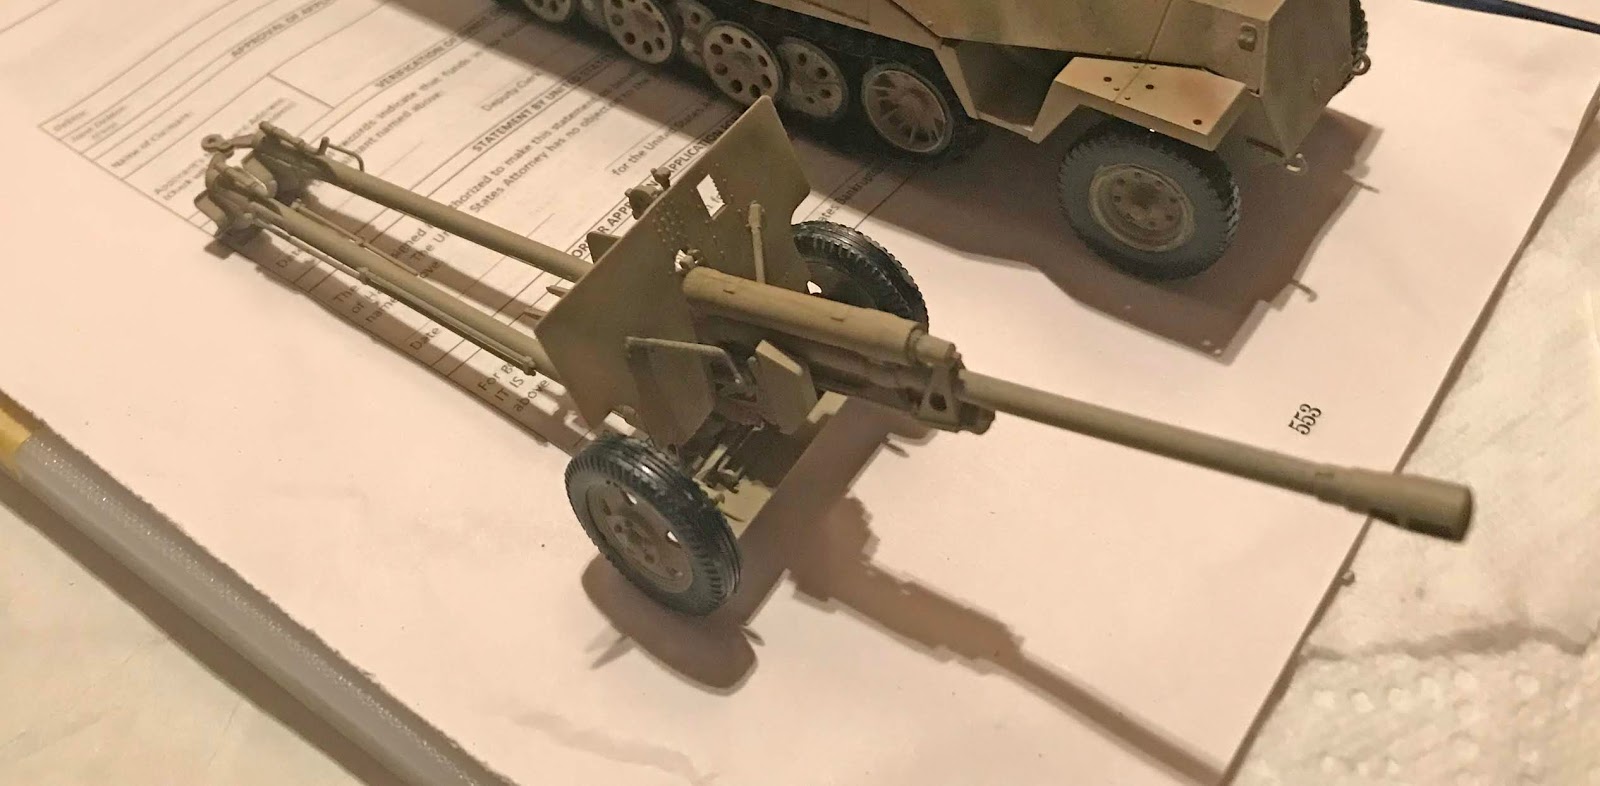
The size difference of the WIP afvs (both sans tracks) is shown above.

Panther Ausf. D (pre-June 1943 production)

On the heels of the Jagdpanther, this is the Pz.Beob.Wg. V Ausf. D Early from Dragon. As it turns out, the depicted vehicle never made it past the wooden mock-up stage, so decided to build as a regular Panther Ausf. D.  As far as I can tell from comparing part sprues, this kit contains all of the parts from Dragon’s Panther Ausf. D “Kursk,” except for the turret.  However, the difference in turrets appears to be certain locating holes, which can be filled as necessary.

After the Jagdpanther, would like to try to make this as OOB and simply as possible.  However, have made or plan to make a few minimal changes as follows:

1.         Engine decks grills:  (a) add P/E covers (Tamiya Panther Ausf. D add-ons); and (b) block the underside of the grills with plastic card and re-purposed Pz. IV fans from spare parts box.

2.         Exhaust – small cross bar in tube appears to be missing – a simple addition.

3.         Tracks – the kit unexpectedly comes with three sets of tracks: (a)  The “original” indy links on sprues without holes in the guide teeth; (b) set of DS tracks with holes in guide teeth; and (c) unadvertised set of Magic Tracks with holes in the guide teeth.  In addition, have another set of DS tracks from the Jagdpanther and a set of workable Tamiya Panther Ausf. D tracks (same as used for Jagdpanther build).  The original on-sprue indy links are a non-starter because of the lack of holes.  Have not has great experiences with DS tracks. Tried them twice – (i) DML Elephant, which broke; and (ii) Pz. III/IV tracks for Jagdpanzer IV(A), lacking sag.  Would be inclined to use the Magic Tracks or Tamiya workable tracks, except that side skirts may cover up lack of sag in which case DS might look okay and the indy links can be saved for another day where the sag is visible.

4.         Gun Barrel – according to some reviews, the kit 75mm gun barrel is 1mm too short.  It also is two-pieces, with resultant joint seam.  Have Tamiya metal barrel for Panther Ausf. D; may use here.

5.         Co-ax MG – as necessary, add (internal) barrel for co-ax MG.

6.         Missing top portion of gun mantlet/turret added; need to add small box (or boxes structure).

7.         Driver’s glass vision block added to open visor.

8.         Added second driving headlight (fortunately kit comes with two).

9.         Consider replacing chain on gun travel lock.

The initial build did not start well as the driver-side torsion bars were installed in the wrong directors.  The photo-based instructions in this regards are much worse than the Jagdpanther’s drawing-based instructions, but this is still (largely) a self-inflicted wound.  Of course, by the time the mistake was realized the glue had set so 4 or 5 bars had to be sheared off, meaning they will be weak and increasing the change of not being level (already a problem even without this). 

Note also that if the instructions sequence of adding the underside of the hull sponson before affixing the upper hull to the lower hull is followed, the underside pieces will have to fit under guide brackets on the lower hull, which will necessitate sliding the upper hull – except that the towing eyelets will prevent the hull front from fitting easily.  Ended up adding the undersides of the sponsons after the upper and rear hulls are fixed to the lower hull.

Inserted figure stands for driver and commander; in both cases from the Tamiya Wehrmacht Tank Crew Set.


T-34 Mod. 1943 with UZTM stamped turret and commander’s cupola.

Kit generally is going together well, except for the PE engine louvers.  It seemed simple enough but turned out to be a bit messy.  There was a small gap at the join between the front and lower hull that needed filling.  Installed a figure stand in the turret for a Russian Tank Crew Commander from Tamiya.  Also, the cast road wheels should be aligned with the rubber road wheels and idler/drive wheels, as the cast road wheels can be inserted closer to the hull, which would create a misalignment.